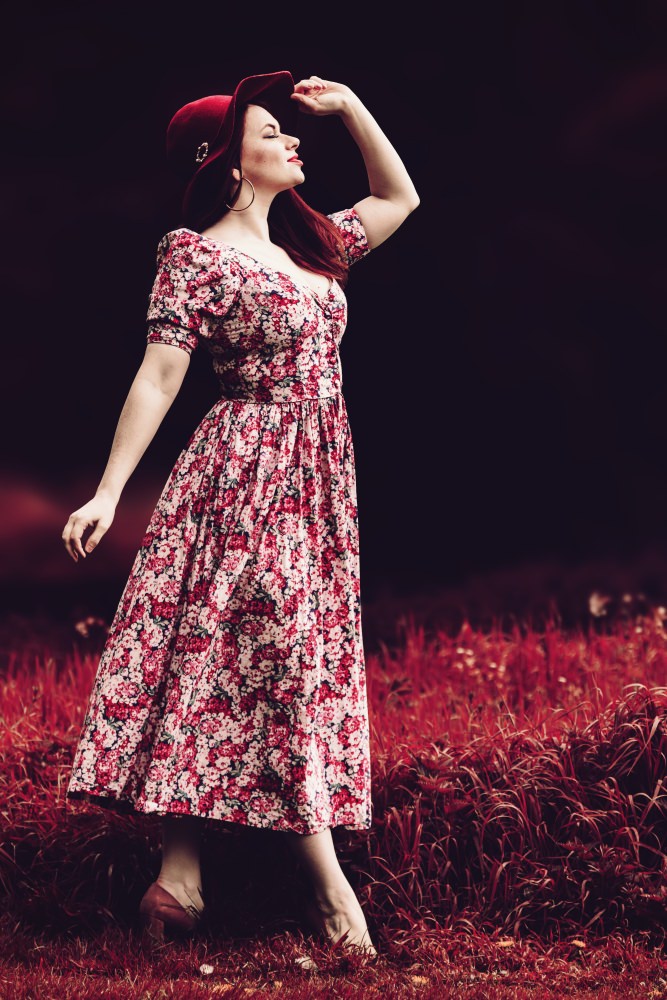
It is now June 2017 and the Earth is now tilted towards the Sun so everything is getting hotter. With that in mind, I decided to edit one of the shots from a recent shoot with Briar Rouge. I took inspiration from her red hat, intending to create a much warmer photo.
First thing I wanted to do was to blur out the background more than my 70-200mm f2.8 Sigma lens could achieve. This was done by creating a selection around Briar then using the Tilt-Shift blur tool in Photoshop. If you just make a copy of the picture and then try to blur that layer and mask out the figure you will get a lot of halo marks around the subject. Making a selection can take more time but the effect if much better.


Next up was the colour grading. I wanted to darken the image so any fire and lighting I applied later would show up better. I used the free Greater than Gatsby Photoshop actions to create a darker mood to the image, I chose Giant Peach, Hammer and Strings and Ombre. You can find the free actions at https://www.greaterthangatsby.com/free-photoshop-actions/

At this point, I was going to add stars and a planet but thought better of it as it didn't fit the image too well. Instead, I used a couple of frames from a recently purchased animated fire pack and added them in, changing the colour a little using the Hue/Saturation filter. One of the flame bursts had the Radial Blur applied to create a nebula effect in the dead space to the upper right of the frame. A flare shot was added to draw the eye from the top right towards the centre of the frame.


From the same animated fire pack, I chose several frames to add to Birars left side. I applied three flame images and used a mask to remove the fire from her torso. One final colour gradient was added with a red hue to bring out more of a flame look. The white rune around Briars hand and those on her arms were provided from www.obsidiandawn.com

